How to use Tebi
Here, you will find all the essential details about Tebi’s web-interface sections, settings, file managers, and connecting via S3 and FTP/FTPS. Our user-friendly interface and step-by-step guides ensure a seamless experience. For any assistance, our dedicated support team is ready to help.
Join for free!
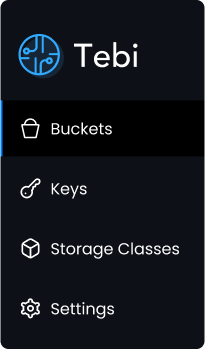
Buckets
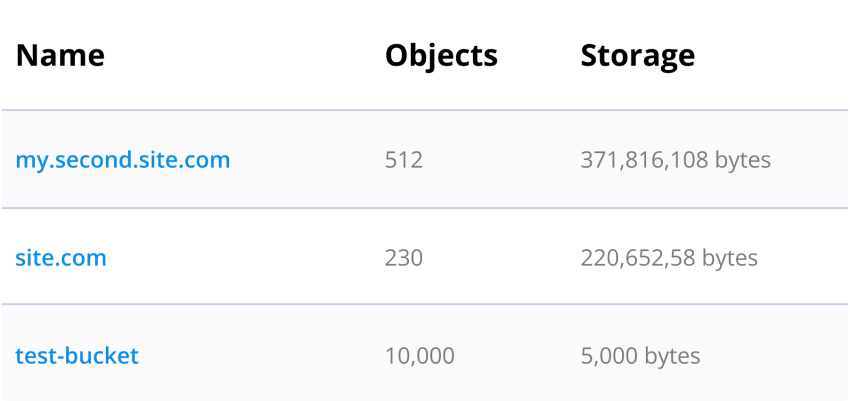
Tebi.io is an S3-compatible platform that allows you to store and organize data in buckets
Creating and Deleting Buckets
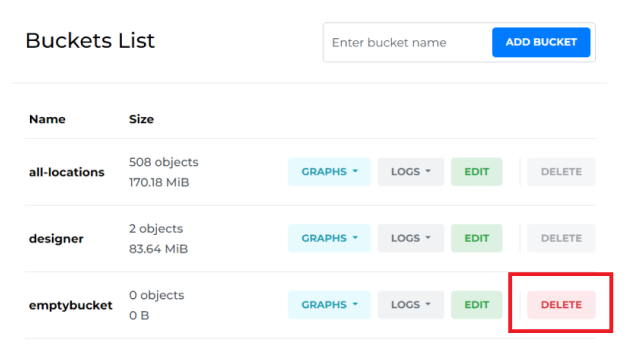
To create a bucket in Tebi.io, navigate to the Buckets section , enter a name for your bucket and click "Add Bucket". This name must be unique and DNS-compliant.
To delete a bucket, open the BUCKETS LIST and find the bucket you want to delete. Select the "Delete" button next to it and confirm the deletion to permanently delete the bucket. The bucket must be empty in order to delete it.
Edit Bucket
You can modify detailed settings for each bucket. To access these settings, navigate to the Buckets section and find the bucket you want to edit. Click the "EDIT" button next to the bucket.
Access Keys: Manage the access keys for specific grantee users and specify the level of access they have to your bucket. You can also configure which protocols they can use to access the bucket.
Access Control: Set the default permission for objects uploaded via S3, DataStream, FTP, and web-interface. You can choose between private and public access control settings for each section.
Hosting: Enable static website hosting for your bucket, and specify the default HTTP/HTTPS behavior, index and error files, and redirection rules.
Cross-Origin Resource Sharing (CORS): Specify the CORS rules for your bucket, and control how your bucket is accessed by web pages from other domains.
Lifecycle: Define when objects expire and are deleted automatically. Transition actions are not currently supported.
Bucket Policy: Define a JSON policy that specifies who can access your bucket, what actions they can perform, and under what conditions.
DataStream: Configure how long the system will wait for an object to be uploaded to the DataStream section of your bucket if it was not found on time of request. You can also enable Low Latency HLS Playlist functionality at DataStream origin.
Advanced: This setting allows you to set various advanced options for your bucket, such as enabling default encryption, enabling Live Replication, specifying the default Storage Class, and setting Metadata Write Concern and Primary Metadata Region.
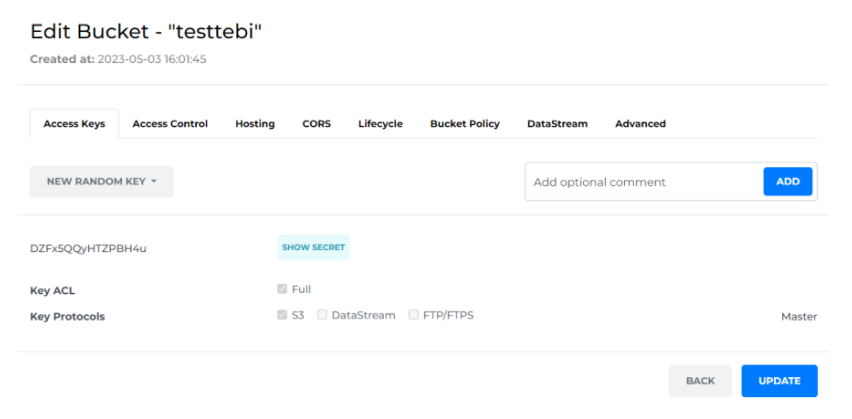
Press “Update” to apply and save changes.
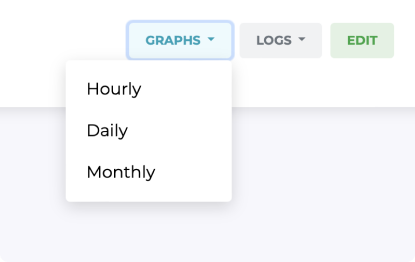
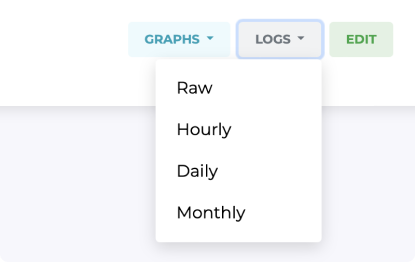
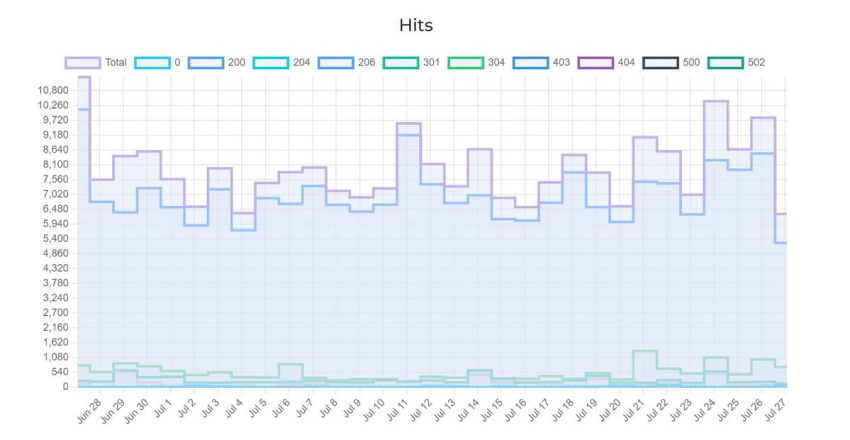
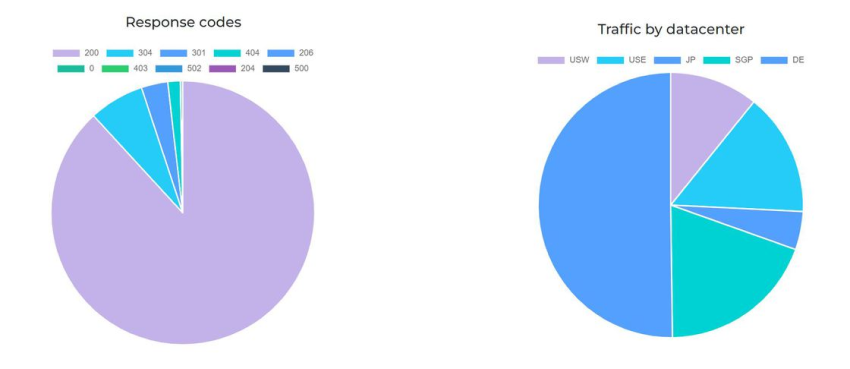
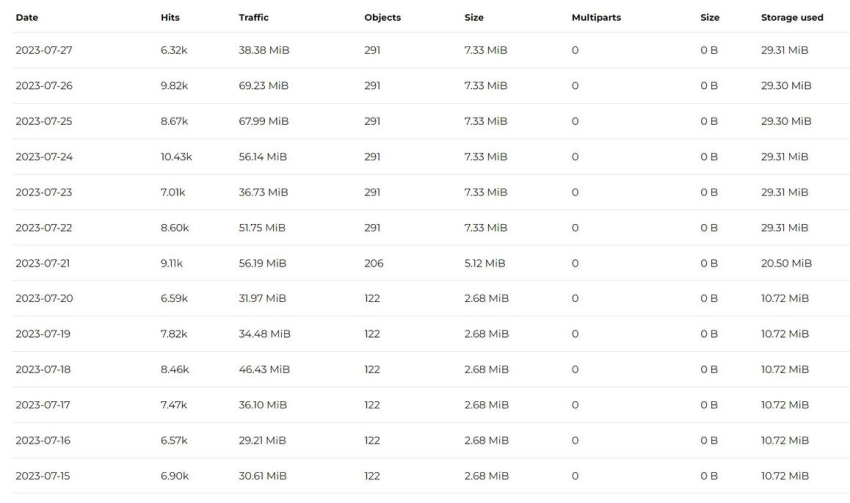
Metrics (Logs and Graphs)
Tebi makes it easy to manage your storage and traffic, and analyze logs. You can view metrics for each bucket from the Buckets section. Choose between different graphs for storage and bandwidth, including Hourly, Daily, Weekly, Monthly, and Quarterly graphs. Select the log type you want to view (Raw, Hourly, Daily, and Monthly). The dropdown menu labeled "More" in the top right corner allows you to export a .csv raw access logs for a selected period.

Keys
The Keys section allows you to manage access keys, which are used to authenticate and authorize access to your object storage resources. Access keys consist of ID and a secret key, and they play a crucial role in controlling who can access your stored data.
Accessing the Keys Section: Log in to your Tebi account and navigate to the "Keys" section in the sidebar, and click on it to access the key management page.
Generating Access Keys: You can add an optional comment or leave the field blank. Once you click on the "Add Key" button, a new access key pair will be generated. Remember to securely store the secret access key.

Viewing Access Keys: You can find a list of access keys associated with your account here. The master keys list is used for unrestricted access to all account buckets, while the bucket keys list controls access and permissions for specific buckets.
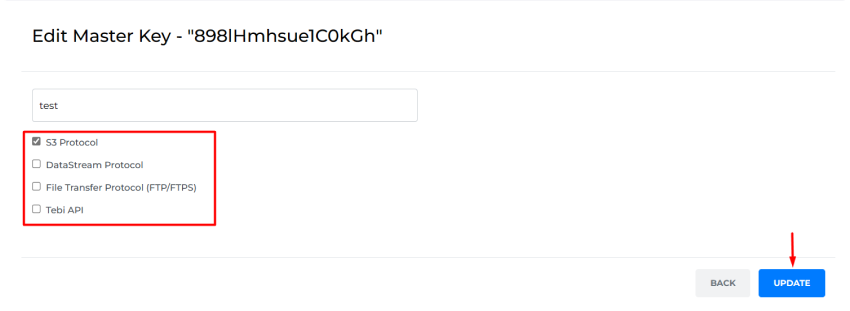
Modifying Access Keys: To modify an access key's attributes or permissions click on the green "Edit" button next to it.

Update the necessary information or permissions, and then save the changes by clicking the "Save" or "Update" button.
Deleting Access Keys: If you need to remove an access key from your account, find the access key in the Keys section. Look for a "Delete" button next to the access key, and click on it. Confirm the deletion when prompted, and the access key will be permanently deleted.

By effectively managing your access keys you can control and secure access to your object storage resources. Remember to follow best practices for key management, such as securely storing your secret access keys and regularly reviewing and revoking unnecessary or compromised keys.
Storage Classes
You can effectively manage and create custom Storage Classes, determine storage regions and the number of copies, view the storage size of objects stored in each class, edit or delete them as needed.
Accessing the Storage Class Section: Log in to your Tebi account and navigate to the "Storage Class" section in the sidebar and click on it.
Creating Storage Class: Enter Storage Class name and click on the "Add Class" button.

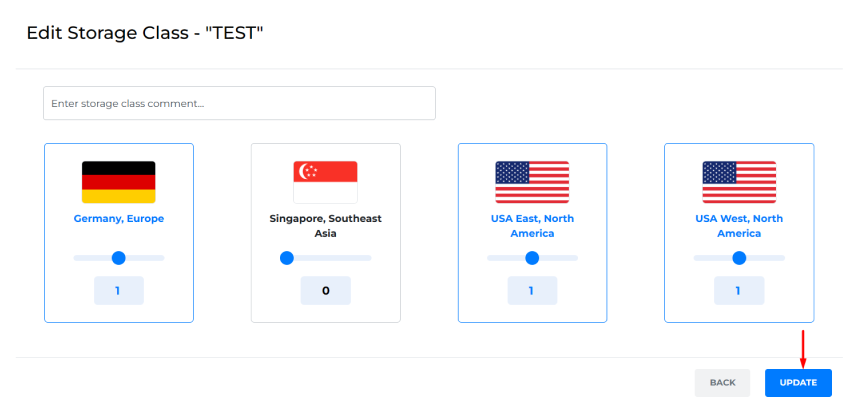
Editing Storage Classes: If you need to modify a Storage Class, find it in the Storage Class list and click on the "Edit" button next to it.

Select the amount of copies for each region by moving the slider below and press “Update” to save the changes to the custom class configuration. Note, only empty storage classes can be modified.
Objects size per Storage Class: The Storage Class section will display a list of all the Storage Classes you have created. In the second and third column you can see the storage size and total amount of objects stored in each class.
Deleting Storage Classes: To remove a Storage Class from your account, find it in the Storage Class list and click on the "Delete" button next to it. Confirm the deletion when prompted. Note that you can not delete non-empty Classes.
Settings
Three tabs are available in the Setting Section: Profile, Two-Factor Authentication, and OAuth Account Connection. Each tab offers specific features to manage your profile information, enable two-factor authentication, and allow authentication with external accounts.
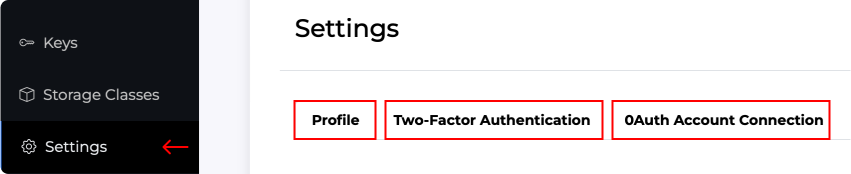
Log in to your Tebi account and navigate to the "Settings" section to access the settings management page.
Profile Tab
Click on the "Profile" tab to view and edit your profile information. Fill out the required fields such as Email Address, Name/Company, Address, Phone Number, Zip Code, and VAT Number.

Below the form, you will find three buttons: "Update Profile" to save any changes made to your profile information, "Update Password" to change your account password, and "Close Account" to permanently close your account if needed.
Two-Factor Authentication Tab
If two-factor authentication is not yet activated, click on the "Activate 2FA" button.
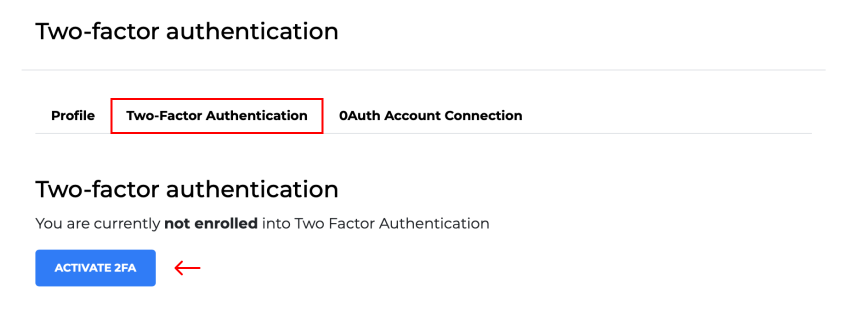
Follow the instructions with a new secret key to set up two-factor authentication and scan a QR code with an authentication app (for example Google Authenticator).
Once activated, you will need to provide the generated verification code along with your regular login credentials during the authentication process.
OAuth Account Connection Tab
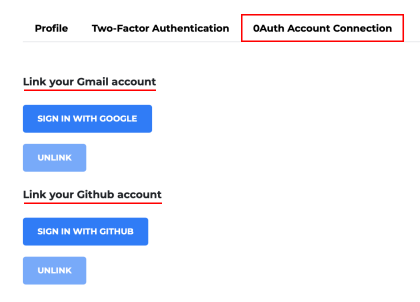
To connect your GitHub or Google account, click on the "Sign In" button next to it. Follow the on-screen prompts to authorize the connection between your account and the selected provider.
If you want to unlink the connected account, click on the "Unlink" button associated with the account provider.
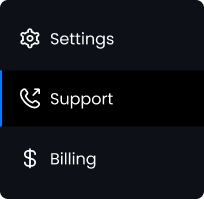
Support
You can use the Support tab to create and view
open tickets.
Log in to your Tebi account and navigate to the Support section on the sidebar.
Creating a Support Ticket

In the Support section, click on the "Create New Ticket" button.
Select the appropriate department for your ticket from the given options: General, Technical, Accounting, or Sales. Write a descriptive subject line that summarizes the issue or inquiry.
Specify the name of the affected resources related to the problem or question.Describe the problem or inquiry in detail, providing all the necessary information.
Once you have filled in the required fields, click on the "Submit Ticket" button to submit your request for support.

Viewing Tickets

In the Support section, you will find a list of your open tickets and a separate tab for closed ones. Scroll through the list to locate and view the details of your tickets.
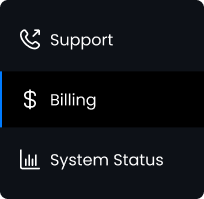
Billing
You can see your subscription plan options, add a card for payment or access invoices in the Billing section. Log in to your Tebi account on the web and navigate to the "Billing" section to access the billing management page.
Subscription Plan Options
In the Billing section, you will find different subscription plan options. Review the details and features of each plan to determine which one best suits your needs.
Adding a Card for Payment
If your trial period has expired or you wish to subscribe to a paid plan, you will need to add a card for payment. Enter your name and input your card details, such as card number, expiration date, and security code.
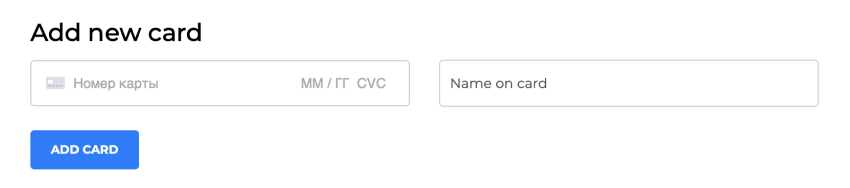
Save the card information by clicking the "Add Card" button to be used for future payments.
Invoices and Stripe Billing Page
Click on the "Go to Stripe" button to view your invoices and access the Stripe billing page.

The Stripe billing page allows you to manage your payment methods, view past payments, and make changes to your billing preferences.
System Status
This page represents the current status and availability of various services, protocols, and components related to Tebi.
Tebi Status Page

FTP/FTPS
You can browse and transfer files using the FTP/FTPS protocol.