Connecting to Tebi Using WinSCP
You can browse and transfer files using the FTP/FTPS protocol. Follow these steps to connect to Tebi using WinSCP
Join for free!
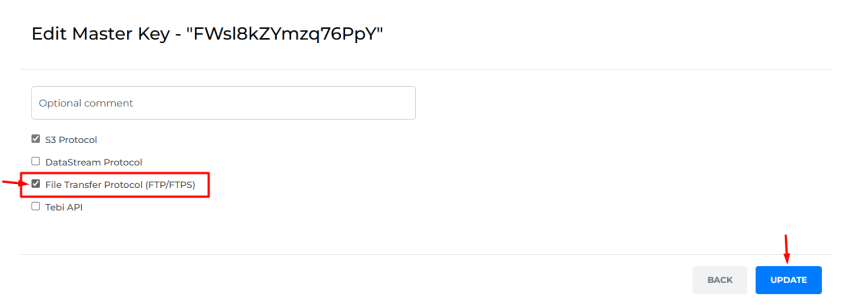
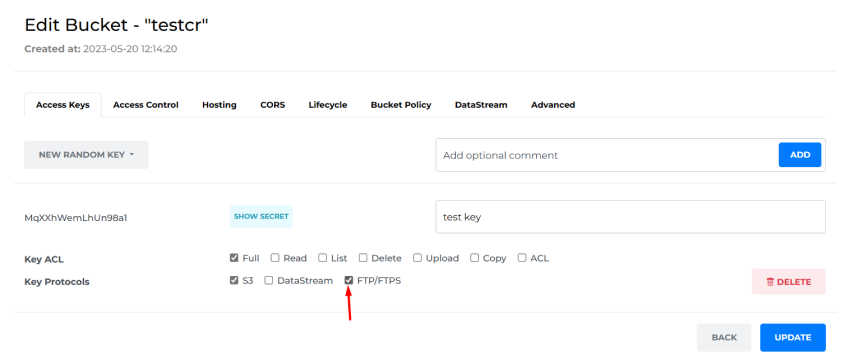
Step 1: Create a Master Key or Bucket Key
Before connecting to the Tebi FTP/FTPS gateway, you need to make sure your Master Key or Bucket Key has enabled FTP/FTPS ACL (Access Control List).
You can see and manage the access keys in the Keys Section of your TEBI interface.

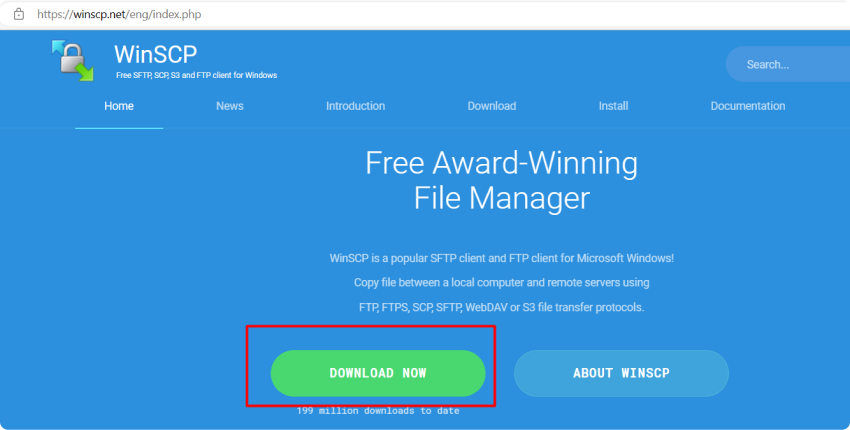
Step 2: Download and Install WinSCP
Go to the official WinSCP website (https://winscp.net) and download the latest version of WinSCP.
Run the installer and follow the on-screen instructions to install WinSCP on your computer.
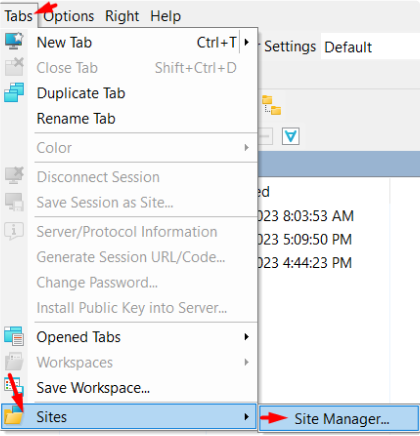
Step 3: Configure WinSCP
Launch WinSCP on your computer.
Navigate to the "Tabs" panel, select "Sites" and proceed to the Site Manager.
In the "New Site" window, select "FTP" as the file protocol.
Enter "ftp.tebi.io" as the "Host name."

Enter the Access Key in the "User" field.
Enter the Secret Key in the "Password" field.
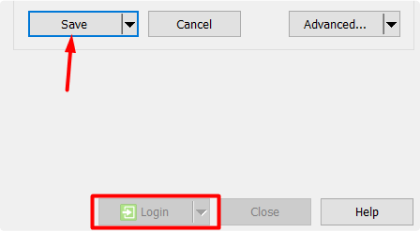
Click on the "Save" button to save the configuration.
Step 4: Connect to Tebi Object Storage
Click on the "Login" button to establish a connection.
Once connected, you will see the local file system on the left-hand side of the WinSCP interface and the Tebi object storage files on the right-hand side.
Congratulations! You have successfully connected WinSCP with Tebi object storage using the FTP protocol and can now transfer files to and from your storage account.
Tebi FTP/FTPS gateway is available worldwide, allowing you to connect from anywhere and you only pay for the data downloaded and stored.